
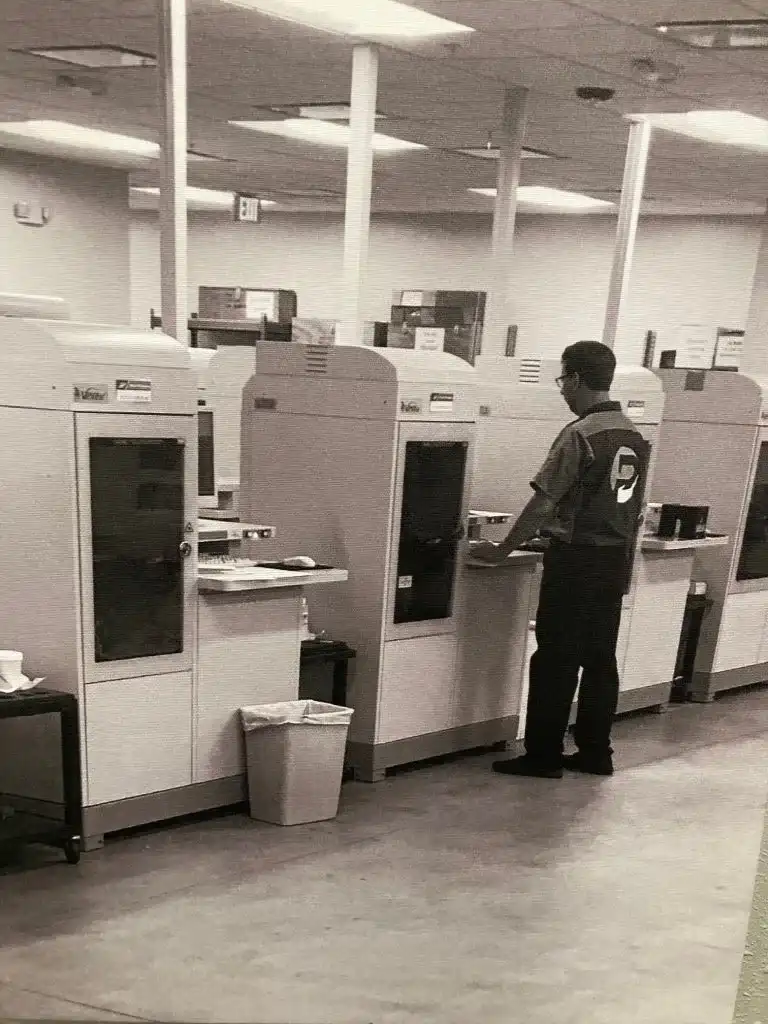
Most 3D printer failures come from a small group of causes: power and wiring faults, clogged nozzles, extrusion problems, poor bed adhesion, loose belts or failing motors, and missed maintenance. Many of these can be fixed in-house with basic tools. Others, especially on industrial machines like Stratasys Fortus systems, need a trained technician to avoid turning a small repair into an expensive one.
This guide walks through the problems our technicians see most often, how to diagnose each one, and when it makes sense to call for professional 3D printer repair service.
Common Causes of 3D Printer Failures
The most common causes of 3D printer failure are clogged or worn nozzles, loose electrical connections, worn belts and pulleys, bad thermistors or heater cartridges, wet or low quality filament, and skipped calibration. Most of these trace back to wear and lack of routine maintenance rather than a sudden defect.
| Symptom | Most likely cause | First thing to check |
| Printer won’t power on | Loose cable, blown fuse, failed power supply | Outlet, power switch, fuse |
| Screen stays blank | Loose display ribbon cable or control board fault | Display cable connections |
| Printer stops mid-print | Filament runout, power drop, thermal protection, file error | Filament path and error log |
| No filament coming out | Clogged nozzle or jammed extruder | Nozzle temperature and filament path |
| Thin, gappy layers | Under-extrusion | Filament diameter, extruder tension, clog |
| First layer won’t stick | Bed not level or nozzle too high | Bed level and Z offset |
| Corners lifting | Warping from uneven cooling | Bed temperature and drafts |
| Layers offset sideways | Layer shifting from belts or motors | Belt tension and pulley set screws |
| Motor buzzing or not moving | Stepper motor, driver, or cable fault | Motor cable and driver |
Why Your 3D Printer Is Not Turning On
A 3D printer that won’t turn on usually has a power supply problem, a loose cable, a tripped switch, or a blown fuse. Work from the wall outward toward the machine.
Start by plugging another device into the same outlet to confirm it has power. Then check that the printer’s power switch is on and that the power cord is fully seated at both ends. Printers with lots of wiring are easy to misjudge, so trace each cable rather than glancing at the bundle.
Next, check the fuse. Many printers have one near the power inlet or on the power supply itself. If the fuse is fine, use a multimeter to confirm the power supply is putting out its rated voltage, usually 12V or 24V on desktop machines. No output means the power supply has likely failed.
If the printer powers on but the screen stays dark, the problem is usually the display cable or the control board. Reseat the ribbon cable at both the screen and the board. If the fans run but the screen is still blank, the control board may not be sending a signal, which is a good point to bring in a technician.
What to Check When Your 3D Printer Stops Mid-Print
When a printer stops partway through a job, the cause is usually filament running out, a brief power interruption, a thermal safety shutdown, or a problem with the print file. Check the printer’s error message or log first, since it often names the cause directly.
Look at the spool and filament path to make sure the filament didn’t run out, tangle, or snap. If the printer loses power even for a second, many machines will stop and not resume, so consider a surge protector or small UPS for long jobs.
A thermal runaway error means the printer saw the hot end or bed temperature behave unexpectedly and shut down to prevent a fire. This often points to a loose thermistor wire or a failing heater cartridge. Do not bypass this safety feature.
If the printer stops at the same spot every time, the G-code file is the likely problem. Re-slice the model and save it to a different SD card or USB drive. Printing over a USB cable from a computer can also cause stops if the computer sleeps or the connection drops.
How to Fix a Clogged Nozzle
To fix a clogged nozzle, heat it to printing temperature, push filament through by hand, and if that fails, do a cold pull or replace the nozzle. Nozzles are cheap wear parts, so replacing one is often faster than fighting a stubborn clog.
A cold pull works well for partial clogs. Heat the nozzle, push filament through, let it cool to around 90°C for PLA or a bit higher for other materials, then pull the filament out firmly. The debris usually comes out stuck to the tip. Repeat until the tip comes out clean.
For hard clogs, a thin cleaning needle pushed up through the heated nozzle can break up the blockage. If the nozzle has been used heavily, especially with abrasive filaments like carbon fiber or glass-filled materials, the opening may be worn and should be replaced anyway.
What Causes a 3D Printer Extruder to Jam
Extruder jams are usually caused by heat creep, printing at the wrong temperature, too much retraction, moist or dirty filament, or a nozzle set too close to the bed. Old plastic left in the nozzle from a previous material is another common cause.
Heat creep happens when heat travels up into the cold end and softens filament before it reaches the melt zone, causing it to swell and stick. Make sure the heat sink fan is running and clean. Excessive retraction settings can pull soft filament up into the cooler zone and cause the same result.
Filament diameter also matters. The most common sizes are 1.75mm and 2.85mm (often called 3mm), and using the wrong size or poorly made filament with inconsistent diameter can jam the path. Filament that has absorbed moisture will pop, string, and clog, so store it dry and dry it before use if needed.
How to Fix Under-Extrusion
Under-extrusion means the printer is pushing out less plastic than it should, leaving thin walls, gaps, and weak parts. The usual causes are a partial clog, low nozzle temperature, a slipping extruder gear, wrong filament diameter in the slicer, or incorrect extruder calibration.
Start by checking that the filament diameter in your slicer matches the filament you are using. Then look at the extruder drive gear. If it is packed with plastic dust or the tension arm is loose, the gear will slip instead of gripping the filament. Clean it with a small brush and adjust the tension.
If the hardware looks right, calibrate the extruder steps (often called e-steps) so the printer pushes the exact length of filament it is told to. After that, fine-tune the flow rate or extrusion multiplier in your slicer. If you recently replaced the stepper motor or drive gear, recalibrate, because a different gear diameter changes how much filament gets pushed.
Over-extrusion is the reverse problem, with blobs, rough surfaces, and dimensions that come out too large. The same calibration steps apply.
How to Fix First Layer Adhesion Problems
Most first layer problems come from an unlevel bed, a nozzle that sits too high above the bed, a dirty build surface, or the wrong bed temperature. A good first layer should look slightly flattened and smooth, not round and loose.
Level the bed first, then adjust the Z offset so the nozzle sits closer to the build plate. Clean the surface with isopropyl alcohol to remove finger oils, which are one of the most overlooked causes of poor adhesion. Set the bed temperature to suit your material and slow the first layer down in your slicer.
If the part still won’t stick, adhesion aids like painter’s tape, a glue stick, or a light coat of hairspray can help, depending on the material and bed surface.
How to Fix Warping on 3D Printed Parts
Warping happens when the plastic cools and shrinks unevenly, pulling the corners of the part up off the bed. It is most common with ABS, nylon, and other high-temperature materials, and it gets worse with drafts and cold rooms.
Keep the bed at the correct temperature for the material and keep the printer away from fans, open windows, and air vents. An enclosure makes a big difference for ABS and similar materials because it keeps the air around the part warm and steady. In the slicer, adding a brim or raft gives the part more surface area to hold on, and reducing part cooling fan speed on early layers helps.
This is one reason industrial machines like Stratasys Fortus printers use a heated build chamber. If an industrial printer starts warping parts it used to print cleanly, the chamber heaters or temperature sensors may need service.
How to Fix 3D Printer Layer Shifting
Layer shifting, where part of a print is offset sideways from the layers below, is usually caused by loose belts, a slipping pulley, the nozzle hitting the print, or a motor or driver that is skipping steps.
Check belt tension on both the X and Y axes. A belt should feel firm and make a low note when plucked, not sag. Then check the set screws that hold each pulley to its motor shaft, since a loose screw lets the pulley slip under load. Tighten the flat side of the screw against the flat on the shaft.
If the nozzle is catching on curled edges of the print, it can knock the head out of position. Fixing warping and adding a small Z hop in the slicer helps. Printing too fast or with very high acceleration can also cause the motors to skip. If shifting continues after these checks, the stepper driver may be overheating or set to too low a current.
How to Diagnose a Broken Stepper Motor
To diagnose a stepper motor, first figure out whether the problem is the motor itself or something upstream like the cable, driver, or control board. Stepper motors rarely fail on their own, so rule out the easier causes first.
If only one motor is misbehaving, swap its cable with a known good motor’s cable. If the problem moves with the cable, the cable is at fault. If it stays with the motor, swap the motor onto a different driver port. A motor that works on another port points to a bad driver. A motor that fails on every port is the likely culprit.
Signs of a failing motor include grinding noises, buzzing without movement, running hot to the touch, or skipping steps under light load. With the printer off and the motor unplugged, you can also check coil resistance with a multimeter and compare the two coil pairs, which should read nearly the same.
If several motors stop at once, the problem is almost always the power supply or control board, not the motors. For Fortus machines, see our comparison of repairing faulty motors versus replacing entire drive blocks.
How to Recalibrate a 3D Printer After a Breakdown
After any repair, recalibrate the printer in order: level the bed, set the Z offset, tune the hot end temperature, calibrate the extruder, and run a test print. Skipping calibration after a repair is one of the most common reasons a fixed printer still prints badly.
On desktop printers, a PID tune for the hot end and bed helps them hold steady temperatures, especially after replacing a heater cartridge or thermistor. Recalibrate e-steps if you touched anything in the extruder. Then print a simple calibration cube or single-layer test and check dimensions and surface quality before running real jobs.
On industrial machines, the process is more involved. Fortus printers, for example, need tip calibration after a head or tip change so the model and support tips line up correctly, along with checks on the platen and gantry. Our technicians handle this as part of every repair visit.
How to Fix a Stratasys Fortus 3D Printer That Stopped Working
When a Stratasys Fortus stops working, start with the error message on the display, then check material loading, the print head and tips, the vacuum platen, and the oven temperature. These are the areas where Fortus machines most often fail.
Material loading errors often come from a damaged filament path, a worn drive wheel in the head, or a canister or spool problem. Clogged or worn tips cause poor part quality and loading failures and are a routine replacement item. If the build sheet won’t hold down, the vacuum system may have a leak or a failing pump. Parts that warp or print poorly on a machine that used to run well can point to oven heater or sensor problems.
Fortus machines have their own failure points and require specific parts and calibration procedures, so most repairs beyond tip changes and cleaning are best left to a technician who works on these systems regularly. Pivot AM specializes in Fortus maintenance and repair, including on-site service and depot repair. You can also read our guides on recommended 24 month preventative maintenance for Fortus machines, servicing older Fortus machines, and Fortus spare parts availability.
Should You Repair or Replace a Broken 3D Printer?
Repair a broken 3D printer when the fix costs well under the price of a comparable machine and parts are still available. Replace it when repairs keep repeating, parts are discontinued, or the machine can no longer meet your production needs.
For low-cost desktop printers, a repair that approaches half the price of a new machine is usually not worth it. For industrial printers, the math is very different. A Fortus or other production system can cost tens of thousands of dollars or more to replace, so repairing a motor, head, or power supply almost always makes sense, and a well-maintained industrial machine can keep running for many more years.
Also consider downtime, material costs, and whether your team already knows the machine. Replacing a printer means new training, new workflows, and often new materials. If you do decide to move on, a refurbished Stratasys printer or a professional appraisal of your current machine can help. Our article on what 3D printer maintenance really costs, and repair vs. replace, goes into more detail.
How Much Professional 3D Printer Repair Costs
Professional 3D printer repair cost depends mostly on the type of machine. Desktop printer repairs are often under a few hundred dollars, while industrial printer repairs and service contracts can range from a few thousand dollars to much more, depending on parts, travel, and labor.
For desktop machines, common parts like nozzles, thermistors, and heater cartridges are inexpensive, and most of the cost is labor. For industrial systems, the biggest cost drivers are the specific part that failed, whether a technician needs to travel on-site, and how long the machine has gone without maintenance. A print head or motion system repair on a production machine costs far more than a tip change.
Regular preventative maintenance is the most reliable way to lower repair costs, because it catches worn parts before they damage other components. For an accurate price on your machine, request a quote from our team.
How Long an Industrial 3D Printer Lasts
A well-maintained industrial 3D printer commonly lasts 10 years or more, and many run much longer. Stratasys Fortus machines built in the late 2000s are still printing production parts today because their frames and core systems are durable and their wear parts can be replaced.
Lifespan depends far more on maintenance than on age. Machines that get scheduled service, clean material, and timely part replacement stay reliable. Machines that run until something breaks tend to fail in bigger and more expensive ways. The practical end of life usually comes when parts become hard to source, or the machine no longer supports the materials you need, not when the hardware wears out.
When to Call a Professional 3D Printer Repair Service
Many 3D printer problems can be fixed in-house with the steps above. Call a professional when the problem involves the control board, power supply, or motion system, when the printer is an industrial or production machine, or when you have worked through the basic checks and the problem keeps coming back. Guessing on expensive equipment often causes more damage than the original fault.
Pivot AM Service provides 3D printer repair and 3D printer maintenance for Stratasys Fortus, SLA, SLS, and other additive manufacturing equipment. To schedule service or ask a question, call 888-928-6811 or 641-780-5686, or email info@pivotam.com.
Most often the cause is a dead outlet, a loose power cable, a switch left off, a blown fuse, or a failed power supply. Test the outlet with another device, check the fuse, and use a multimeter to confirm the power supply is putting out its rated voltage.
Heat the nozzle to printing temperature and try pushing filament through by hand. If that doesn’t work, do a cold pull to drag the debris out, or use a thin cleaning needle. Badly clogged or worn nozzles are cheap and are often faster to replace.
Check for a partial clog, confirm the filament diameter in your slicer matches your filament, and clean and tighten the extruder drive gear. Then calibrate the extruder steps and adjust the flow rate in your slicer.
The most common causes are clogged or worn nozzles, loose wiring, worn belts and pulleys, failed thermistors or heater cartridges, wet filament, and skipped calibration. Most failures trace back to normal wear and missed maintenance.
Check for filament runout, a tangled spool, a brief power loss, or a thermal runaway error. If the printer always stops at the same point, re-slice the file and save it to a different SD card or USB drive.
Level the bed, lower the Z offset so the nozzle sits closer to the plate, and clean the surface with isopropyl alcohol. Use the correct bed temperature for your material and print the first layer slowly. Tape, glue stick, or hairspray can help if it still won’t stick.
Start with the error message on the display, then check material loading, the print head and tips, the vacuum platen, and oven temperature. Tip changes and cleaning can be done in-house, but head, motion, and electrical repairs are best handled by a technician experienced with Fortus systems.
Repair it when the fix costs well below the price of a comparable machine and parts are still available. Replace it when failures keep repeating, parts are discontinued, or the printer can’t meet your production needs. For industrial printers, repair is usually the better value.
Desktop printer repairs often cost under a few hundred dollars, mostly in labor. Industrial printer repairs can range from a few thousand dollars upward, depending on the part, travel, and labor. Regular preventative maintenance is the best way to keep repair costs down.
Tighten loose belts, check the set screws on each motor pulley, and reduce print speed or acceleration. Fix any warping that lets the nozzle catch on the print. If shifting continues, the stepper driver may be overheating or set to too low a current.
Common causes are heat creep, printing too cold, too much retraction, moist or low quality filament, the wrong filament diameter, and leftover plastic from a previous material. Keeping the heat sink fan clean and storing filament dry prevents most jams.
Level the bed, set the Z offset, run a PID tune on the hot end and bed, calibrate the extruder steps, and run a test print. Industrial machines like Fortus printers also need tip calibration after any head or tip work.
Use the correct bed temperature, keep the printer away from drafts, and use an enclosure for materials like ABS and nylon. Adding a brim or raft and reducing cooling fan speed on the first layers also helps.
A well-maintained industrial 3D printer commonly lasts 10 years or more. Many Stratasys Fortus machines built in the late 2000s are still running production today. Lifespan depends more on maintenance and parts availability than on age.